Your Partner Account bundles all features and functionality in one place and gives you access to all your developer application definitions as well as further account management features.
If you are part of a team or company that already has an account with us, please reach out to your administrator for assistance. They will be able to add you to the existing account, granting you the necessary permissions and access to collaborate with your team.
If you're setting up a new project or representing a new organization, you have the option to create a new partner account. Simply follow the steps outlined below to get started:
- Click on the "Create New Partner Account" button.
- Enter the required information, such as your organization’s name, role, and contact details.
- Review and accept our terms and conditions to proceed.
Before you begin developing and testing your applications, it's essential to configure a sandbox environment. This environment serves as a safe space for you to create, test, and refine your applications and integrations without affecting live data or production systems.
Why Use a Sandbox?
A sandbox environment allows you to:
- Experiment Freely: Test new features, APIs, and integrations without the risk of affecting your live data.
- Validate Functionality: Ensure that your applications function as expected before going live.
- Identify and Fix Bugs: Catch and resolve issues early in the development process.
How to Request Sandbox Credentials:
- Submit Your Request:
- Click on the "Request Sandbox Credentials" button to initiate the process.
- Select country/region
- Select a country for your sandbox tenant that matches the majority of your customers - the country selection has impact on currency, payment methods as well as address formats and cannot easily be changed retroactively.
- Credentials Issuance:
- This process typically takes up to 2-3 minutes.
- Start Developing:
- Use these credentials to access your dedicated sandbox environment.
- Begin by adding a developer application to your newly created sandbox environment from the Application menu item.
This step is crucial for integrating your solutions and ensuring they function seamlessly within our ecosystem.
Why Define a Developer Application?
Setting up a developer application allows you to:
- Customize Integration: Specify the exact behavior and permissions your application requires.
- Leverage APIs Effectively: Connect to various services and components with predefined scopes and access levels.
- Utilize Realistic Testing: Simulate real-world scenarios and workflows in a controlled environment.
Within the Open API ecosystem we offer distinct types of developer applications that have separate technical architecture requirements and each serve a bespoke use case throughout our platforms. When defining your developer application make sure to select the correct developer application for your desired use case as available scopes, webhooks, events and benefits vary between types. Here is an overview of types available:
- Generic - this is our most common type of developer application and contains almost all scopes as well as webhook and benefit functionality. Most of our partners use the Generic type to build out customer facing interfaces.
- Aggregator - a specific type of developer application that requires synchronous event responses to validate member profiles as well as checkin events.
- Debt Collection - bespoke type that addresses not only legal requirements for handling and updating debt collection cases but also applies stricter retry mechanisms and more audit functionality.
- Hardware - for partners that manage an operators physical hardware infrastructure, the Hardware type enables a simple set of endpoints to validate access using our platforms built-in entrance strategy checks
- Create an Application:
- Click on the "Add Application" button to get started.
- Provide essential details.
- Configure Application Details:
- Scopes: Define the permissions needed to access specific resources within the sandbox. Choose from a list of available scopes that align with your application's functionality.
- Webhooks: Set up webhooks to receive real-time updates and notifications about events happening in your environment. Configure endpoints that can handle incoming data efficiently.
- Benefits: Define services that get created automatically when your integration is activated in order to allow operators to add these to certain rates, additional modules etc.
- Testing and Validation:
- Begin developing and testing your application within the sandbox environment.
- Ensure that all integrations work as expected and troubleshoot any issues.
- Prepare for Production:
- Once you're satisfied with testing results, and your application meets all functional and security criteria, you can proceed to request production access.
Once you have finalized the definition for your developer application, this is immediately available for you to activate in your sandbox environment.
Your newly defined Developer Application awaits your activation so you can directly test how our shared customer base will interact with your offerings. Within your sandbox navigate to settings > integrations > overview to perform the activation. 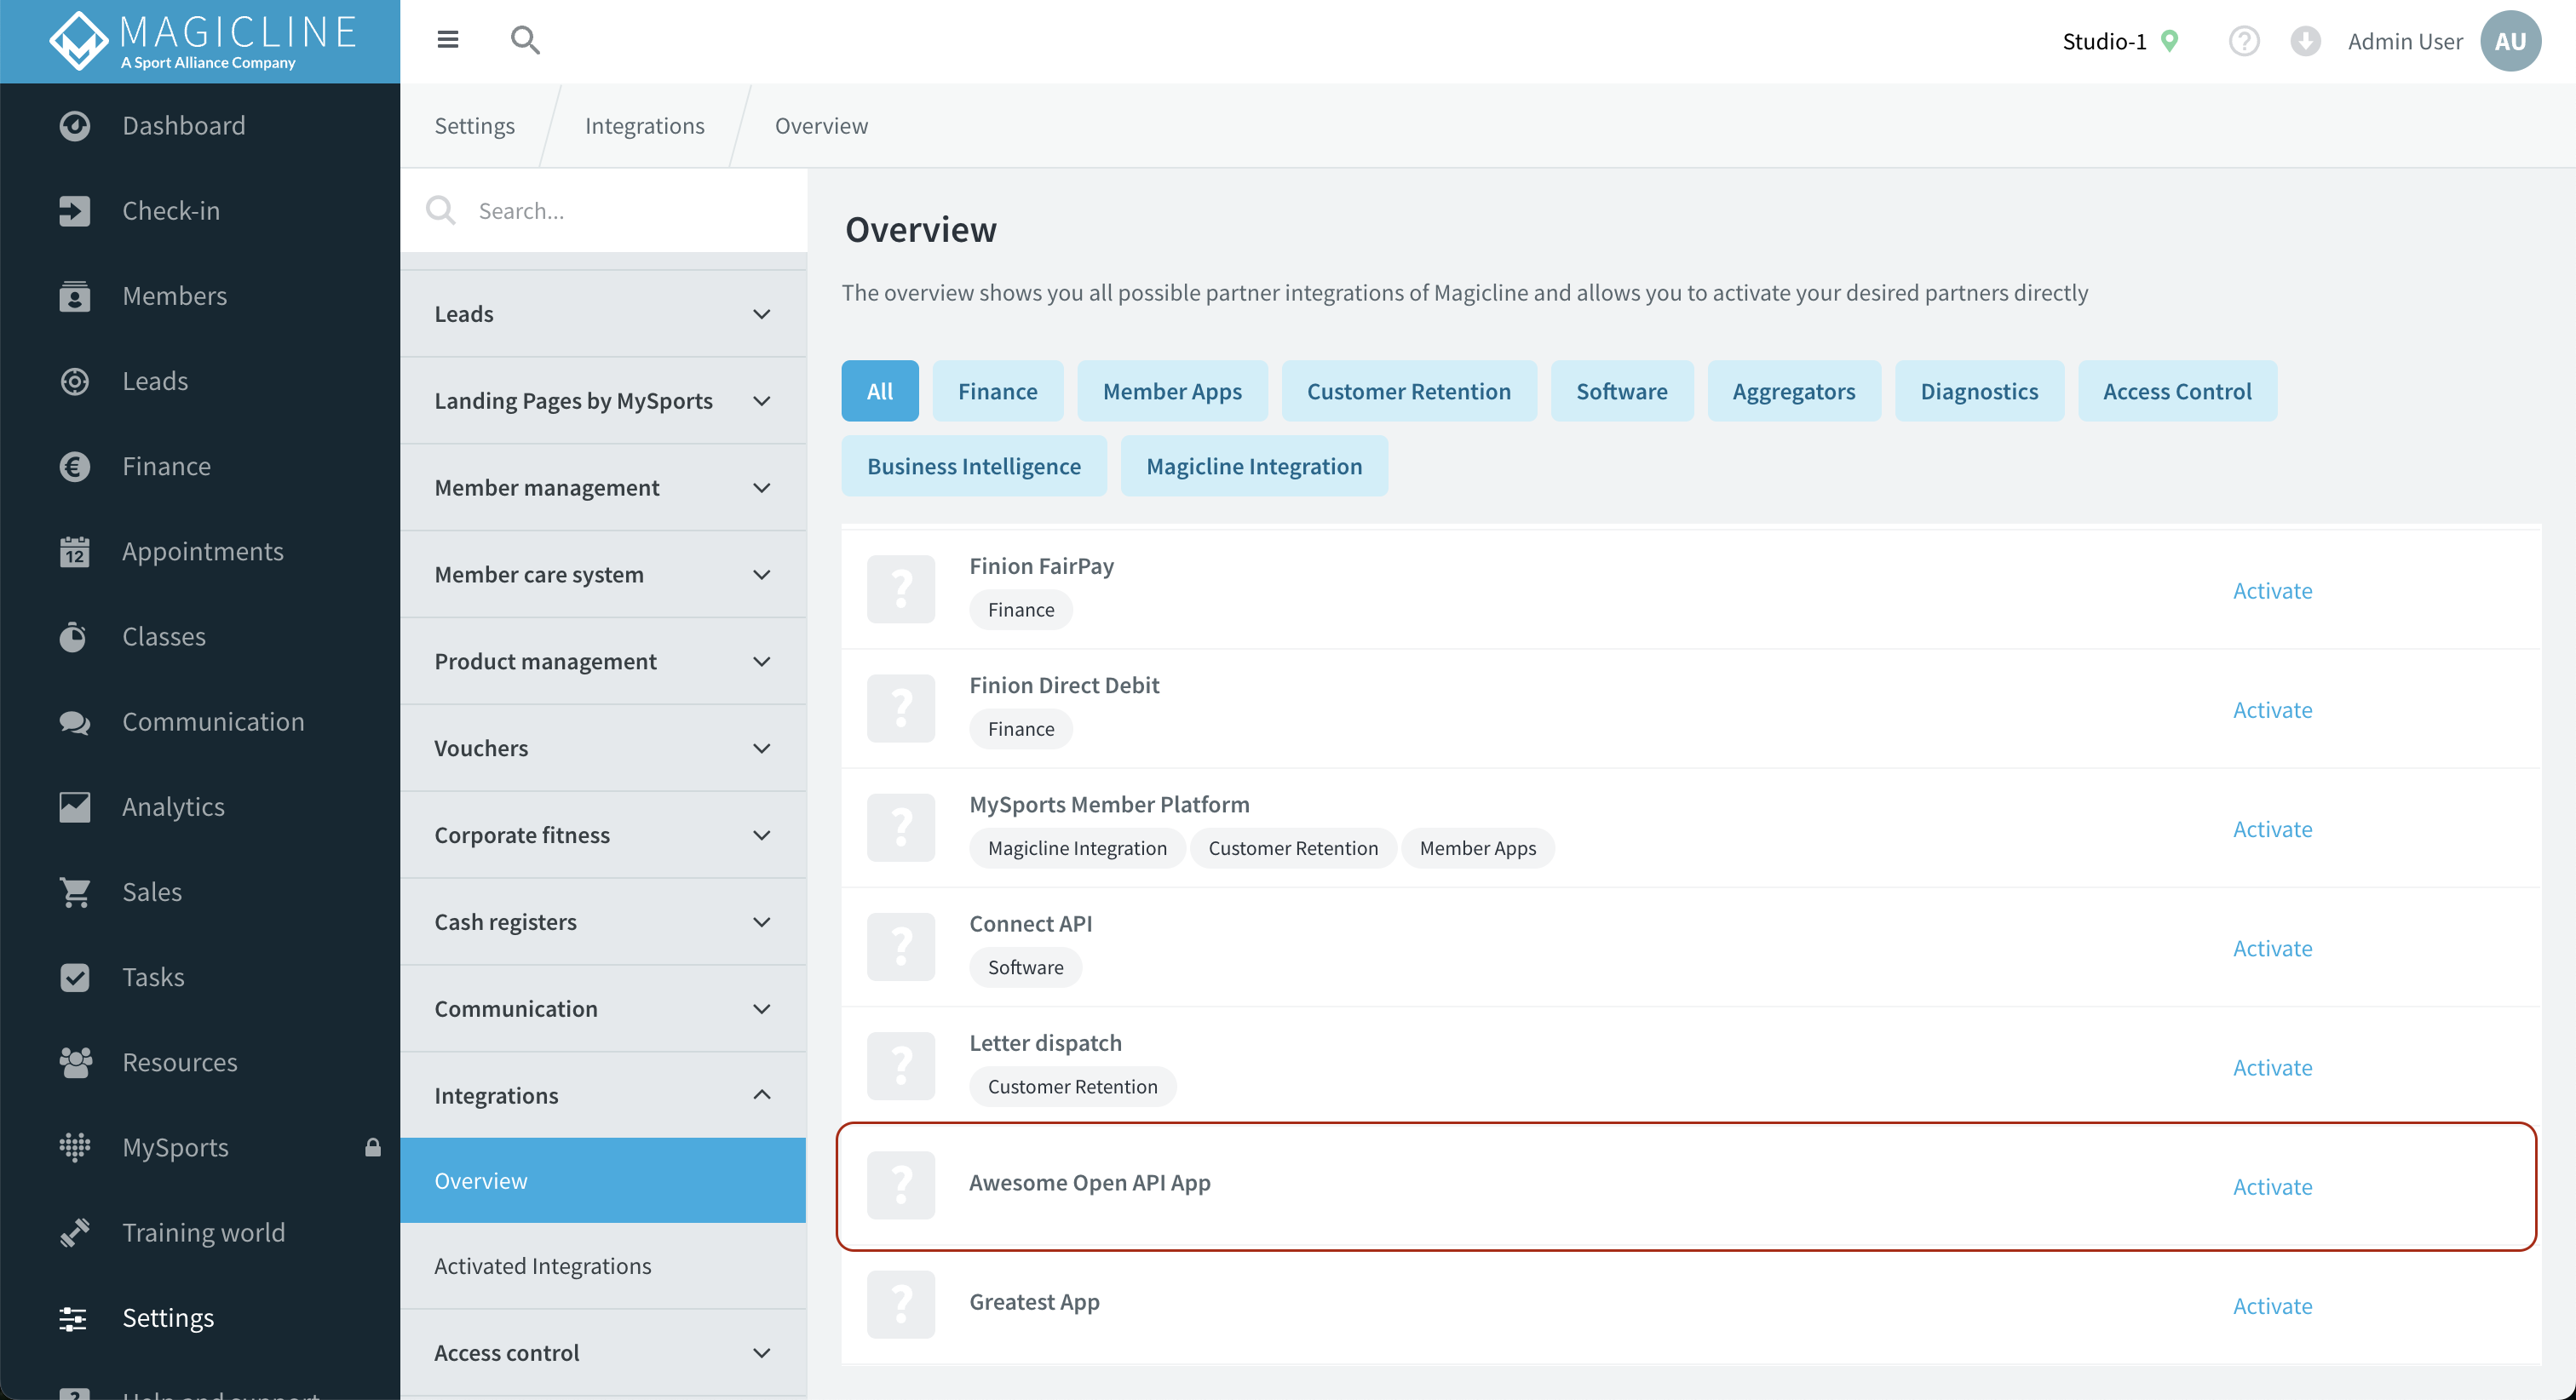
Once activated, the activation email will be triggered. Simultaneously the new activation will be shown on the Integrations tab within your developer portal account which also contains all necessary API Keys for you to get started.
The next step is to transition your application from sandbox to production. To ensure a smooth transition and to maintain the integrity and security of our systems, we require some additional information about your application and its intended use.
As you prepare to push your application to production, please provide the following details:
- Application Overview: Describe the functionality and purpose of your application. Explain how it integrates with our platform and the value it adds to users.
- Scope Justification: Detail why each scope you selected is necessary for your application to function effectively. Clearly demonstrate the need for each level of access you're requesting.
- Security and Compliance: Highlight any security measures and compliance protocols you have implemented to protect user data and ensure system integrity.
- Post-Deployment Strategy: Present your plans for monitoring, maintaining, and updating the application once it goes live. Discuss your approach to handling potential issues or updates in a timely manner.
Once you have compiled this information, submit it through the "Submit for Production" button. Our team will review your submission to ensure it meets all requirements for production. This review process helps maintain the overall quality and security of integrations across our platform.
- Consult our production deployment guidelines and best practices in the developer documentation.
- Our support team is available to assist in addressing any issues or questions you might encounter during this transition.
By carefully preparing your application for production, you contribute to the reliable and secure deployment of solutions within our platform. We appreciate your attention to detail and look forward to seeing your application in action!